Make this easy realistic treasure map for a pirate themed party, or for a fun treasure hunt on an afternoon adventure.
You will need: a brown paper grocery bag, permanent markers (black and red).
My treasure map video demonstrates the instructions below, and also shows you a “secret” that is hidden in the map that I made. It’s easy, even for slow pirates!

I prepared this map for our adventure on the “high seas” of Kentucky Lake trip that we took one summer. Our map was a very generic map of a “secret” island where we had a hidden treasure. The truth is that it was just any old island that we chose for our lunch picnic, and the treasure was hidden upon our arrival when the other kids weren’t looking — in other words — weren’t paying attention. (They were busy throwing rocks in the water and other fun stuff). Then they “found” the map in a bottle on the beach, and since my oldest child had hidden the treasure, he knew how to “read” the map and lead everyone to the treasure!
Start with a paper grocery bag.
First, carefully cut open a brown paper grocery bag along all the seams and unfold it all so that it lies flat. Then tear around the edges until you have a nice sized area for a map. Ours was about 2 feet by 18 inches. Tearing works better than scissors and gives it a nice rough look. Try to use a large section of the bag that does not have grocery store printing on either side
Next, draw the images on your map.
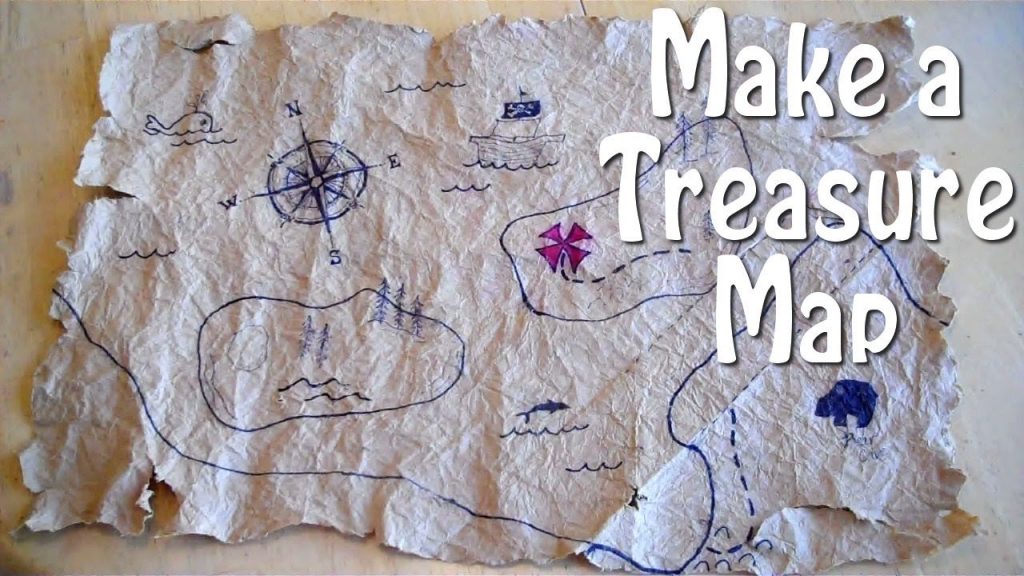
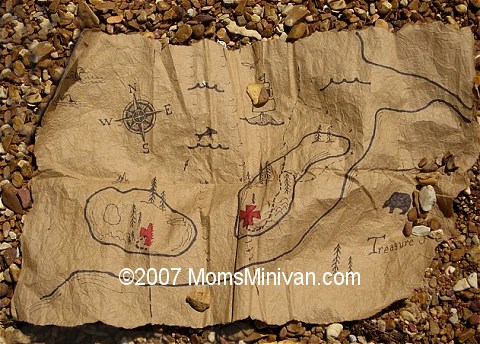
Use a sharpie permanent marker to draw islands, main land, a few trees, some rocks. On the ocean parts add some curvy lines for waves, a sea dragon, birds, a porpoise, and even a ship.
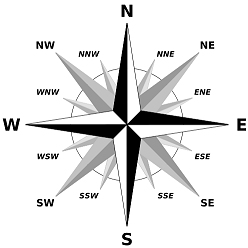
Next, add a compass rose to show North, South, East and West. Do a search for compass rose to find an example of one you would like to draw, or use this one that I have posted here, by clicking the image and printing it.
Somewhere on the map draw a big fat red X to mark the spot for the treasure using a red sharpie permanent pen. Draw a dotted line leading to the X. Make sure to write “Treasure Map” on the map using some fancy lettering for the first letter of each word. Use your imagination and see my example below.
Don’t worry about being super neat or making mistakes. Remember, it’s a pirate map. Pirates rarely have good handwriting!
Our map had a special secret to it! If you folded it just right, the two islands became one island, which made the location of our treasure even more secret! (see the video for how this worked).
Age your map
Next, to make your map look very old, crumple the whole thing up into a ball. Open it, and spread it out, then crumble it up again. Soak it underwater for a couple of minutes, and crumble it up again. This is why it’s important to use a permanent pen since a watercolor marker will just run. Wetting it will also soften the thick paper and make it more pliable. Then open it up and spread it out on the counter top to dry, or put it on a cookie sheet and pop it in the oven on the lowest temp you can for about 15 minutes to dry.
Stage your map
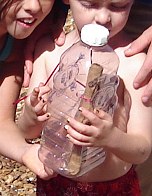
Fold it in half, roll it up and put a ribbon on it to keep it rolled up. Insert it into a large plastic bottle and put the lid on tight. Now you can take it to the beach and have a treasure hunt. Even if it gets wet, it will still be legible.
Have fun with your “Real” Treasure Map!
Now, what are you going to do with your map? This is great for a birthday themed party, or just an afternoon on the beach (where you carefully bury some “treasure” when they aren’t looking, and “find” your map in a bottle while you are out walking the beach.)
Check out what we did, in my article: Pirates of Kentucky Lake. And for more swashbuckling fun with kids, learn how to Travel Like Pirates on road trips!
Have fun and happy treasure hunting! Arrrrrr!!